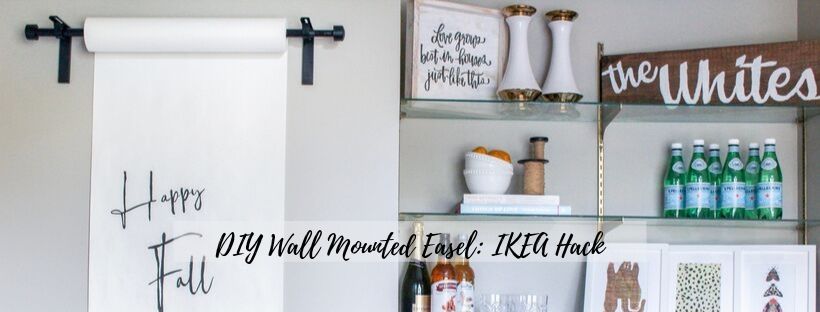
Hi, pals 🙂 It’s been so long since I’ve attempted any diy project, so this simple + easy one was a no-brainer. I have wanted to find something to fill the space on a wall in our dining room, but knew I didn’t want regular wall art. A few months ago, I saw the perfect mounted kraft paper roll on Pinterest, but of course it was listed for well over $200. Me being me, I immediately set out to find a way to make one myself + found a way for less than $40. *heart eyes*
IKEA is an amazing place, y’all. There are hundreds of IKEA Hack blog posts out there + I’m excited to be adding this one. So, let’s get started!
IKEA Shopping List:
–1 RACKA Curtain rod in 28-47 inches – $1.99
–1 Set Raffig Finials – $2
–2 BETYDLIG brackets – $1.50 each
–Roll of Kraft paper – I chose white paper, because that’s all IKEA had, but you can find brown kraft paper here, as well–I’ll be grabbing it when I run out of white! – $4.99
-1 Black FINTORP Rail –$9.99
-2 FINTORP Utensil Holders – $6.99 Each
-1 Pack FINTORP hooks – $2.99
Total Cost: $39

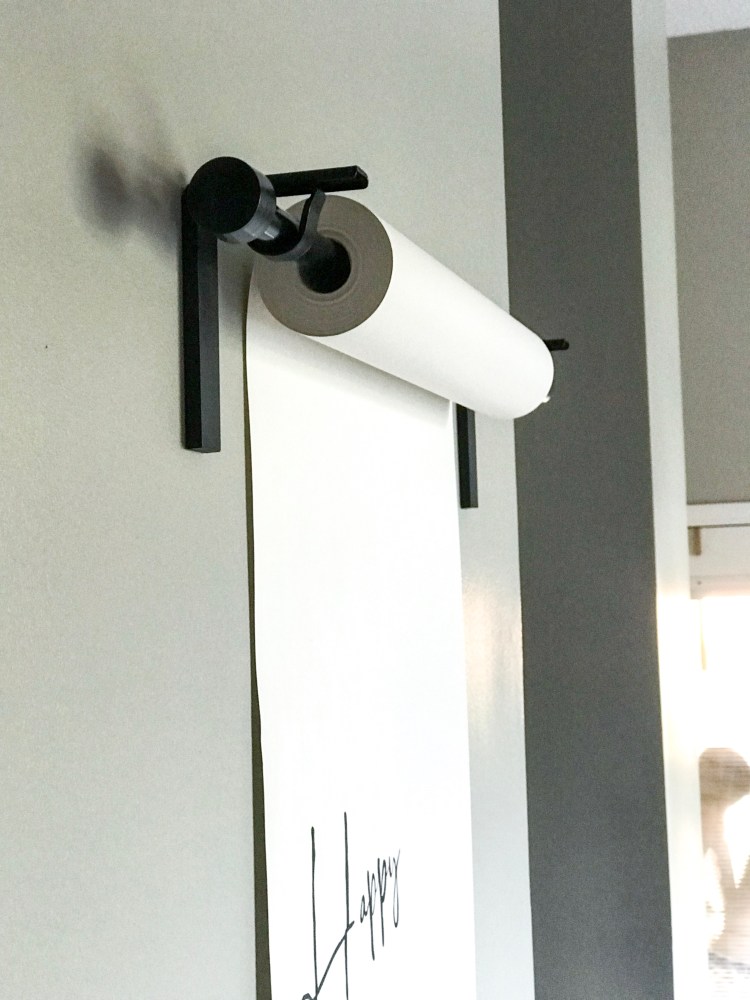
Step One: Hang the brackets. I did this by using a piece of cardboard and a leveler ( if you don’t have an actual leveler, there’s one on your iPhone 😉 ). I placed my brackets 28in apart, as that is the smallest the rod will go.
Step Two: Place rod into brackets, slide paper roll onto rod, then position the moveable aspect of the brackets as far back to the wall as possible + tighten the top screws . After placed, screw in the Finials to the two ends.
Step Three: Add bracket cover pieces.
This is the end of hanging the roll–SO easy, y’all!
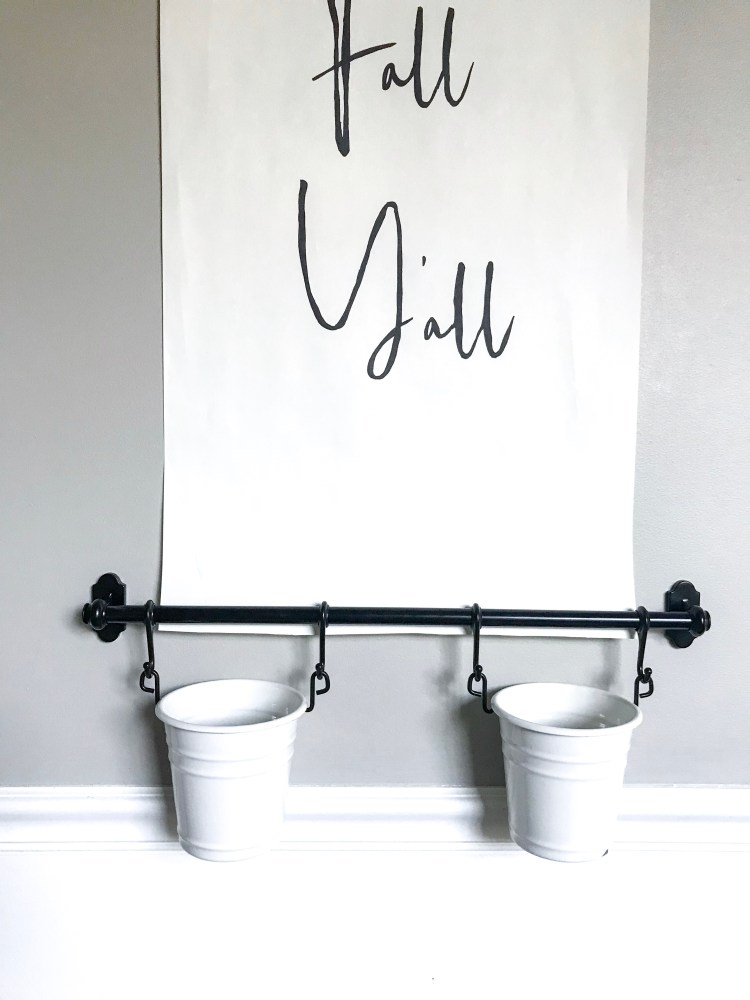
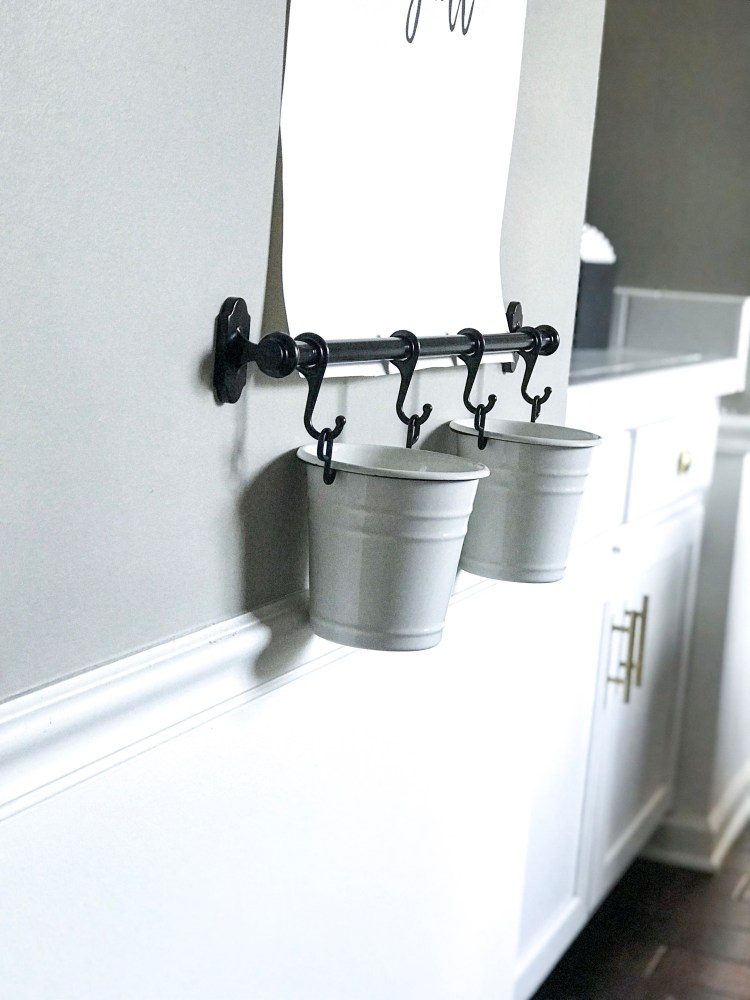
Step Four: Hang the FINTOP rail. I made sure my paper roll was center at the top, then centered my FINTORP rail with the end of the paper sheet. The instructions that come along with the rail are extremely easy, so follow those for fastest assembly.
Step Five: Add hooks + buckets.
This is the end of hanging the bottom railing 🙂
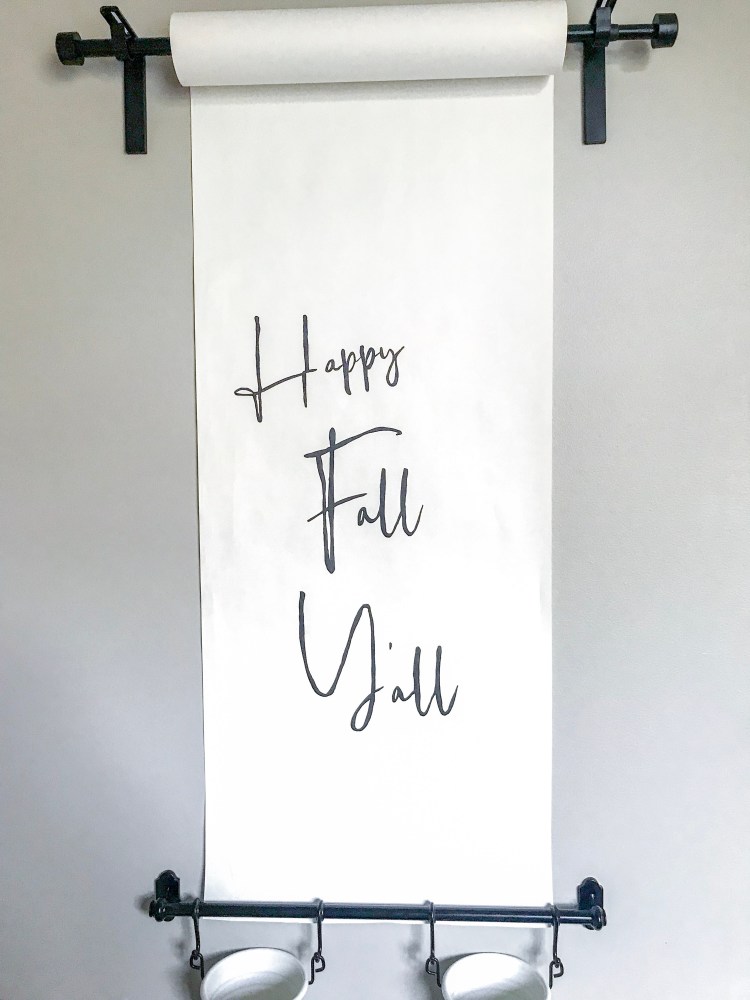
Now time to add your own flare in sharpie. I used my favorite font, Boulevard (found for FREE here) + opened a Word Doc to type what I wanted to display, then printed. I then removed the paper roll from the easel + laid it on my kitchen floor with a piece of cardboard underneath. Then, placed the printed sheets under the paper roll to trace with a pen, followed by a sharpie.
If you have children, you could leave the paper unmarked + place colored markers in the buckets for a fun afternoon drawing pad.
Additionally, for quote inspiration, see my Pinterest board, here 🙂


One thought on “DIY WALL MOUNTED EASEL: IKEA HACK”