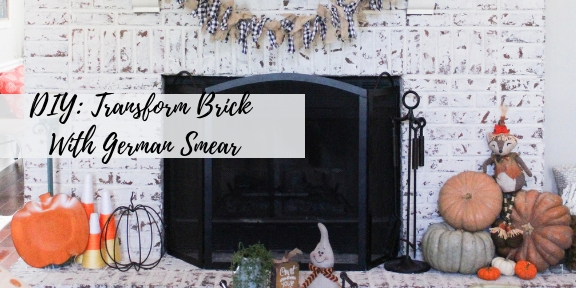
WOW, I can’t believe I’m finally getting to share this project with y’all! This was our first #homeimprovement project + let me tell ya–want to test your marriage? Do a DIY project together hahaha!


Really though, T helped out SO much with this. I’m just the type of gal who is up for ANY DIY at ANY time. Throw me an idea + I am all go!
Let’s get to the griddy + learn how to do this yourself!!
_______________________________
First things first–supplies. You will need the following:


Links to supplies we used: White Mortar, Spreader, Drop Cloth, Plastic Baggies
Step 1: Lay The Drop Cloth + Tape the Floor Surrounding

This is very important, as the mortar will get in places you never expected! The consistency is very sandy + little pieces WILL fly!
Step 2: Clean Your Brick

In order for the mortar to stick to the brick, you’ll want to be sure you clean it off. T just took a broom and swept off from top to bottom. You’ll be surprised at how dirty the brick really is!
Step 3: Bag the Mortar + GET GOING 🙂

We used an old spoon to transfer the mortar to the plastic baggie. After all the air was pressed out, we cut a hole in one of the bottom corners, in the same way you’d cut a bag to frost a cake. We then applied mortar to all the “cracks” in between the bricks to cover all the old/gray mortar. I then used my finger to spread the mortar out, wiping the excess on the brick faces.
Step 4: Spread It Out!

You’ll want to press the spreader into the crack with the mortar, then immediately pull the spreader down over the brick. If there isn’t enough Repeat for each break section.
You want to make sure you’re not covering the faces too much, since you want a lot of the brick to shine through. When a section is covered, spread the tool in an “X” formation to even out the mortar.
Step 5: Investigate + Remove
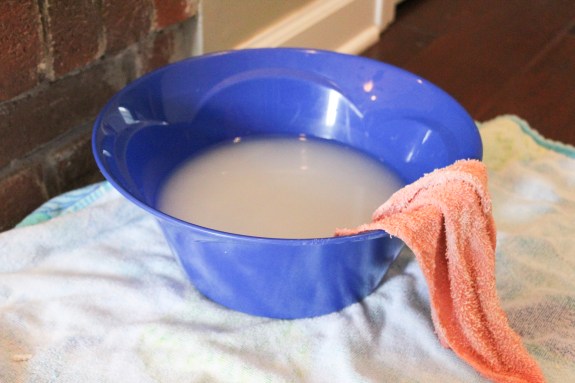
This is where the bowl of water will come in handy! If you see a spot that has a little too much mortar, wet the cloth + wipe it off! Simple as that–the mortar will not begin to set for 2+ hours, so you have plenty of time to make changes before it’s there forever!
_______________________________
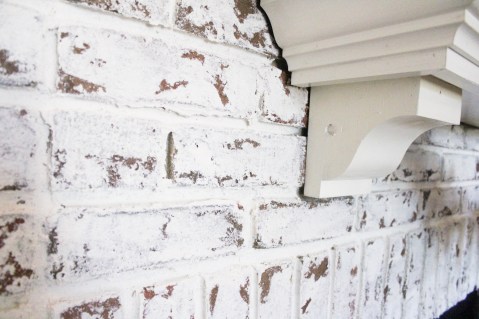
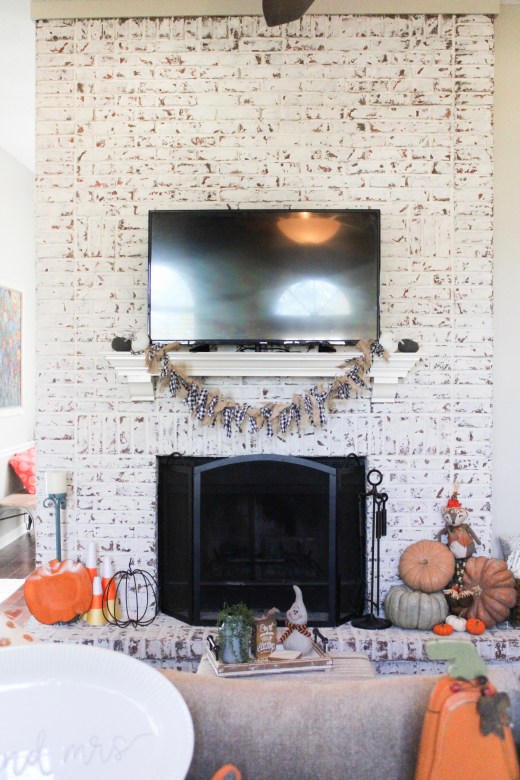
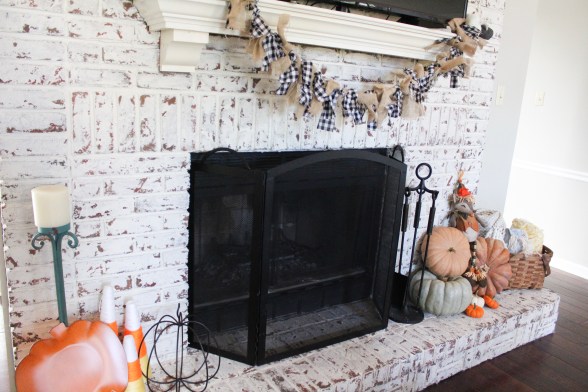
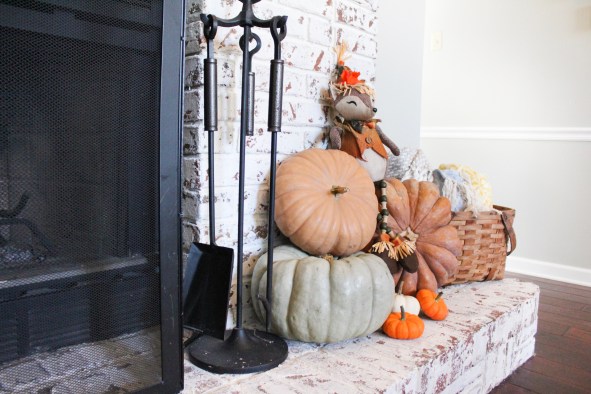
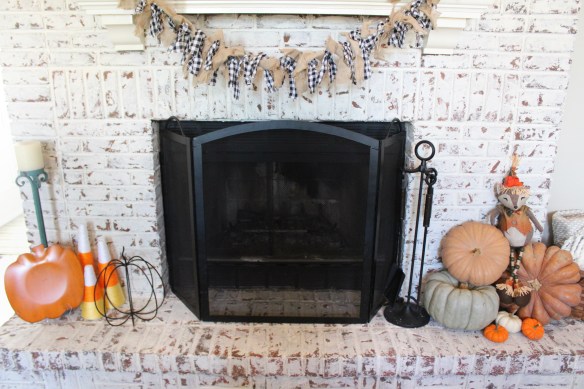
That’s pretty much it! Like I said before, this project was so easy + probably took us about 5 hours. Remember, the product is not meant to be perfect, so give yourself a little grace if you cover too much/too little in some spots! Check out the finished product below! (the top of some of these pictures appear to be a yellow tint–this is due to the overhead light in the room)
Before + After


We still have to touch up the top + are planning to paint that top trim white to blend better!


One thought on “DIY: Transform Brick With German Smear”